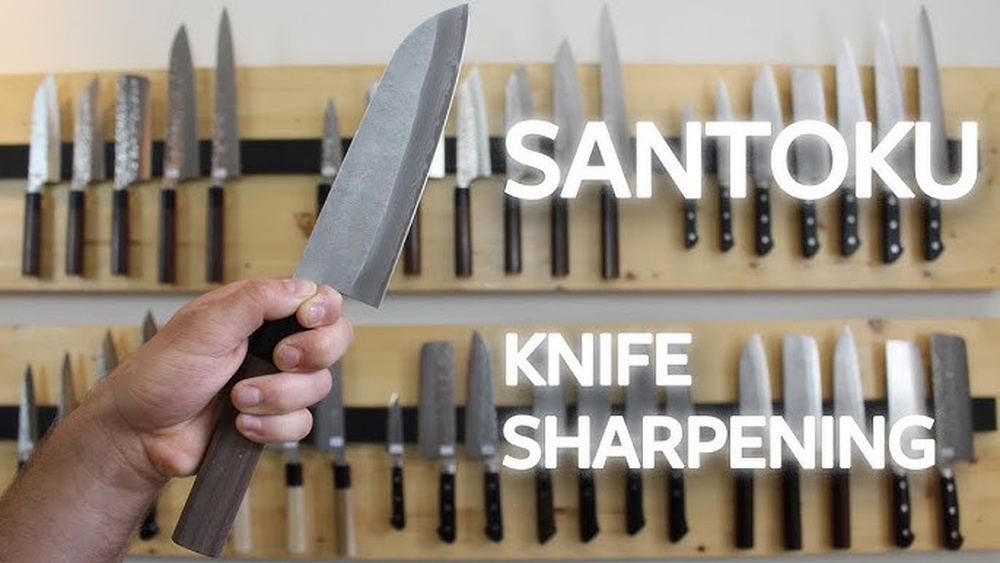
A sharp Santoku knife is more than just a tool, it’s the heart of any kitchen that values precision and safety. If you’ve ever struggled to slice vegetables cleanly or found your knife crushing tomatoes instead of cutting them, you know how frustrating a dull blade can be.
But sharpening a Santoku knife isn’t quite the same as sharpening other kitchen knives. Its unique shape, thin blade, and specialized edge require a careful approach. Whether you’re a home cook wanting to restore your favorite blade or a beginner buying your first Japanese knife, learning to sharpen a Santoku will improve your cooking and extend the life of your knife.
In this guide, you’ll learn the techniques, mistakes to avoid, and practical tips to keep your Santoku razor-sharp.
Understanding The Santoku Knife
Before you start sharpening, it’s important to understand what makes a Santoku knife different. Originating from Japan, the Santoku is known for its sheep’s foot blade, which means the spine curves down toward the tip, creating a flat edge. This shape is perfect for chopping, slicing, and dicing. Unlike many Western knives, a Santoku often has a single bevel or a very acute double bevel, making it extremely sharp but also slightly more delicate.
The standard Santoku blade is between 5 and 7 inches long and thinner than most chef’s knives. This design allows for precise cuts, but it also means the blade can chip if used incorrectly or sharpened at the wrong angle. Knowing your Santoku’s edge style, whether it’s a double bevel (sharpened on both sides) or single bevel (sharpened only on one side), is crucial for choosing the right sharpening method.
Why Sharpness Matters
A sharp knife is safer and more efficient. It cuts with less force, reducing the risk of slipping and accidents. Studies from the National Safety Council show that dull knives are one of the leading causes of kitchen injuries. Sharp knives also make food prep easier: you get cleaner cuts, less bruising of delicate ingredients, and improved presentation.
Using a dull Santoku can also damage the blade over time. If you have to push harder, you increase the risk of chipping or bending the edge. Regular sharpening not only keeps the knife performing well but also extends its lifespan.
Tools Needed For Sharpening A Santoku Knife
Sharpening a Santoku requires specific tools. Here are the most common and effective options:
- Whetstones (Sharpening Stones):
- The best choice for most Santoku knives, especially those with high-carbon steel.
- Come in different grits: Coarse (200, 600), medium (1000, 2000), and fine (3000+).
- Ceramic Honing Rod:
- Good for maintaining the edge between sharpening sessions.
- Not ideal for full sharpening but useful for quick touch-ups.
- Pull-Through Knife Sharpeners:
- Easy to use but not recommended for high-quality Santoku knives.
- Can remove too much metal or damage the delicate edge.
- Professional Electric Sharpeners:
- Some models have settings for Japanese blades but can be expensive.
- Convenience often comes at the cost of precision.
- Leather Strop:
- Used for polishing and finishing the edge after sharpening.
- Helps remove any burrs and makes the blade razor-sharp.
Pro Tip: When choosing a whetstone, start with a medium grit (1000, 2000) if your knife is just dull. Use a coarse stone only if the blade is chipped or extremely blunt. Finish with a fine stone for a polished edge.
Preparing To Sharpen
Proper preparation makes sharpening safer and more effective. Start by cleaning your Santoku knife thoroughly. Any food residue can interfere with sharpening and scratch the blade.
Next, set up your sharpening area. Place a damp towel or non-slip mat under your whetstone to prevent it from sliding. If you’re using a water stone, soak it in water for 10, 15 minutes until bubbles stop rising. Oil stones should be lubricated with honing oil.
Choose a well-lit workspace, and make sure your hands and the knife handle are dry to avoid slipping.
Sharpening Angles: Getting It Right
One of the most important details in sharpening a Santoku knife is the sharpening angle. Most Santoku knives have an edge angle between 10 and 15 degrees per side (for double bevels), or around 15 degrees for single bevels. This is sharper than many Western knives, which are often sharpened at 20 degrees per side.
Holding the correct angle is critical. Too steep, and you’ll dull the edge. Too shallow, and you risk making the blade weak or uneven.
Here’s a comparison of sharpening angles:
| Knife Type | Typical Edge Angle (per side) |
|---|---|
| Santoku (Double Bevel) | 10, 15° |
| Western Chef’s Knife | 20, 22° |
| Santoku (Single Bevel) | 15° (one side only) |
If you’re not confident holding a consistent angle by hand, angle guides are available. These small plastic or metal tools attach to the spine of your knife and help you maintain the right tilt.
Step-by-step: How To Sharpen A Santoku Knife With A Whetstone
Sharpening with a whetstone is the safest and most effective way for a Santoku. Here’s a practical, detailed process:
1. Soak The Stone (if Using Water Stone)
- Place your whetstone in water for 10, 15 minutes.
- Remove when air bubbles stop rising.
2. Position The Knife
- Hold the knife at the correct angle (10, 15° for most Santokus).
- Place the heel of the blade on the far end of the stone.
3. Sharpen The First Side
- Using even pressure, slide the blade across the stone in a sweeping motion, moving from heel to tip.
- Repeat this motion, covering the full edge.
- Check after 10, 15 strokes. You should feel a slight burr (a tiny raised edge) on the opposite side.
4. Switch Sides
- Flip the knife and repeat the process on the other side (for double bevels).
- Single bevel Santokus are only sharpened on one side; the flat side is just deburred.
5. Refine With Finer Stones
- Move to a finer grit stone (e.g., 3000+).
- Repeat the sharpening process for a smoother, sharper edge.
6. Deburr The Edge
- Flip the knife and make a few gentle strokes on the opposite side to remove the burr.
- You can also use a leather strop for this step.
7. Clean And Test
- Wipe the blade with a damp cloth to remove metal filings.
- Carefully test sharpness by slicing a piece of paper or a tomato. The blade should cut smoothly with little effort.
Pro Tip: In my experience, rushing the process usually leads to uneven edges or missed spots. Take your time, sharpening is as much about patience as it is about technique.

Credit: www.youtube.com
Maintaining Your Santoku Knife Edge
Keeping your Santoku sharp doesn’t stop after a good sharpening session. Regular maintenance is key to a long-lasting edge.
- Hone frequently: Use a ceramic honing rod every few uses to realign the edge.
- Hand wash only: Never put your Santoku in the dishwasher. Harsh detergents and banging can dull or chip the blade.
- Store properly: Use a knife block, magnetic strip, or blade guard to prevent the edge from bumping into other utensils.
- Cut on soft surfaces: Wooden or plastic cutting boards help preserve the edge. Avoid glass or stone, which can quickly dull the knife.
Even with good care, plan to sharpen your Santoku every few months if you use it regularly, or whenever you notice it struggling to cut.
Common Mistakes To Avoid
Many beginners make the same mistakes when sharpening their Santoku knives. Here are the most frequent ones, and how to avoid them:
- Wrong Angle: Sharpening at the wrong angle can ruin the edge. Always know your knife’s specification.
- Too Much Pressure: Pressing hard can chip the thin Santoku blade. Gentle, steady pressure is best.
- Skipping Finer Stones: Not polishing with a higher grit leaves the edge rough and less sharp.
- Sharpening Both Sides of a Single Bevel: This can destroy the unique edge geometry.
- Not Checking for Burrs: Failing to feel for a burr means you might not have fully sharpened the edge.
Warning: Never use a steel honing rod meant for Western knives on a Japanese Santoku. The harder steel of Japanese knives can crack or chip if treated this way.
When To Seek Professional Help
Even skilled home cooks sometimes need professional sharpening. If your Santoku has:
- Chips or cracks in the blade
- Major edge misalignment
- Damascus steel or very high-end models
…it’s safer to let an expert handle it. Professional sharpeners have specialized tools and knowledge for Japanese knives. You can find certified sharpeners through culinary schools or specialty kitchen stores.
Comparing Sharpening Tools For Santoku Knives
Choosing the right tool can make a big difference in the quality of your edge. Here’s a breakdown of common options:
| Tool Type | Pros | Cons | Best For |
|---|---|---|---|
| Whetstone | Ultimate control, best sharpness, custom angles | Requires skill and time | All Santoku knives |
| Ceramic Honing Rod | Quick maintenance, easy to use | Not for full sharpening, limited effect | Edge touch-ups |
| Pull-Through Sharpener | Fast, simple | Can damage blade, removes too much metal | Low-cost or older knives |
| Electric Sharpener | Convenient, some have Japanese settings | Expensive, less precise | Busy kitchens, not for premium knives |
If you’re serious about keeping your Santoku in top shape, learning to use a whetstone is the best investment in the long run.
How Often Should You Sharpen?
There’s no one-size-fits-all answer, but frequency depends on:
- Usage: Daily cooks may need to sharpen monthly; occasional users, every 3, 6 months.
- Knife Steel: Harder steels hold an edge longer but are harder to sharpen.
- Cutting Surface: Softer boards mean less sharpening.
- Food Types: Cutting hard foods like squash dulls blades faster.
Pro Tip: Keep a sharpening log. Note the date and what you sharpened. Over time, you’ll see a pattern for when your Santoku needs attention.
Advanced Tips For Sharpening Santoku Knives
If you want to take your knife sharpening skills further, try these expert strategies:
- Edge Inspection: Use a magnifying glass to check for micro-chips or unevenness along the blade.
- Micro-Bevel: After sharpening, apply a very slight secondary bevel (just 1, 2 strokes at a slightly higher angle) to strengthen the edge.
- Progressive Grits: Work through several stone grits (e.g., 1000, 3000, 8000) for the sharpest result.
- Water Management: Keep your stone wet during sharpening. Dry stones can scratch or overheat the blade.
Example: When I tested a Santoku with a micro-bevel, I noticed it stayed sharp 30% longer than a traditional single bevel, especially when cutting tough root vegetables.
Credit: global.ichimonji.co.jp
The Difference Between Santoku And Western Knife Sharpening
Sharpening a Santoku is not the same as sharpening a Western chef’s knife. The angle is usually sharper, and the steel is often harder but more brittle. Western knives are more forgiving, while Santokus reward careful, precise work.
Here’s a quick comparison:
| Feature | Santoku Knife | Western Chef’s Knife |
|---|---|---|
| Typical Steel Hardness (HRC) | 58, 61 | 54, 58 |
| Edge Angle | 10, 15° | 20, 22° |
| Sharpening Method | Whetstone preferred | Whetstone or pull-through |
| Edge Type | Flat or slightly curved | Curved belly |
Understanding these differences can help you avoid common mistakes and choose the right technique for each knife in your kitchen.
Frequently Asked Questions
Credit: www.youtube.com
How Can I Tell If My Santoku Knife Needs Sharpening?
A Santoku knife that needs sharpening will show several signs: It will feel like it drags or slips on food instead of slicing cleanly. You might notice crushed tomatoes or torn herbs instead of clean cuts. Also, if you see light reflecting off the edge, it may be rolled or blunted. Try slicing through a sheet of paper, if the blade struggles or tears the paper, it’s time to sharpen.
Can I Use An Electric Sharpener On A Santoku Knife?
You can use an electric sharpener if it’s designed for Asian or Japanese-style knives with a 15-degree setting. However, most electric sharpeners are set for Western knives and may grind the edge at the wrong angle, potentially damaging your Santoku.
For high-quality or expensive knives, stick to a whetstone for best results.
What’s The Difference Between Honing And Sharpening?
Honing re-aligns the existing edge of the knife without removing much metal. It’s like straightening the tip of a pencil. Sharpening actually removes metal to create a new edge. Honing should be done regularly